Custom embroidered patches offer a durable, eye-catching way to promote brands, celebrate achievements, and add personality to apparel, from team jerseys and staff uniforms to merchandise lines and event giveaways. Whether you’re outfitting a sports team, launching a product line, recognizing staff milestones, or building a brand-integration program, these embroidered patches convey quality, consistency, and a story that sticks, making them a smart choice for a broader patch customization strategy. If you’re new to order patches, this guide introduces practical steps for artwork preparation, backing choices, edge finishes, and color matching, designed to keep production on schedule and your design faithful to the original concept. As you compare options, you’ll weigh factors such as custom patch pricing, quantity breaks, shipping timelines, and minimum order quantities, ensuring you maximize impact while staying within budget. From scalable vector artwork and proofs to final delivery and packaging considerations, you’ll gain confidence in translating ideas into durable, display-ready patches that reinforce your brand across multiple applications, including patch production tips.
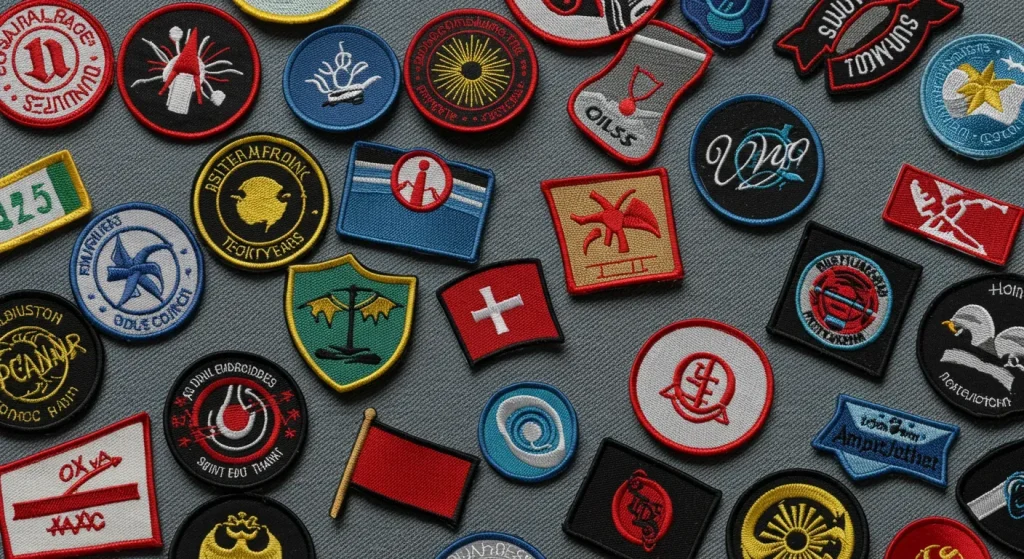
Beyond the trademark term, brands refer to them as fabric badges, sewn emblems, or brand insignia stitched onto garments. These decorative patches perform a similar branding function, offering durability, flexibility in shapes, and easy replacement when product lines expand. If you’re exploring suppliers, ask about backing types, thread counts, and edge finishes to achieve consistent branding across uniforms, caps, jackets, and merchandise.
From Concept to Creation: A Descriptive Guide to Patch Customization
Turning an idea into a tangible patch begins with clear goals and a concise brief. In the patch customization journey, you define what the patch should achieve, who will wear or display it, and how it aligns with your brand story. This upfront planning helps ensure the embroidered patches you order are meaningful, durable, and easy to integrate with existing apparel and merchandise.
Next comes artwork preparation and color planning. Gather vector artwork (AI, EPS, or PDF) or high-resolution files and specify Pantone color codes to improve color fidelity and minimize back-and-forth during approvals. Understanding the basics of MOQs, lead times, and how patch pricing scales with size and complexity helps you create a practical plan for order patches that fits both your budget and your goals.
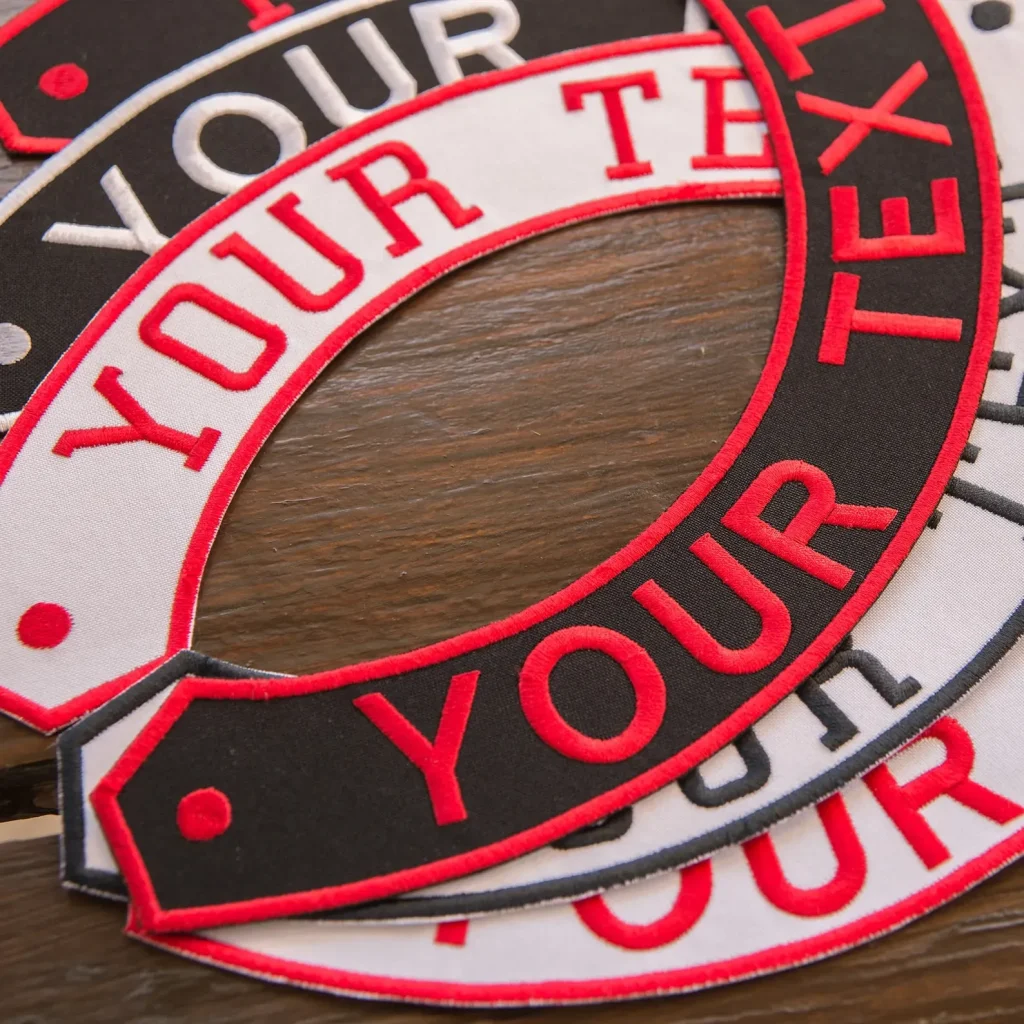
As you finalize the design, consider patch type, edge finish, and backing as integral parts of the look and longevity. For example, die-cut shapes with a merrow border convey a premium feel, while standard shapes like rounds and squares work well for broad applications. This holistic approach keeps you on track to produce embroidered patches that communicate quality and tell your brand story.
Materials, Edges, and Backings: Choosing Durable Embroidered Patches
The core of any patch order is the fabric, thread, and stitching. You’ll typically choose among twill, felt, or satin, each offering a distinct texture and durability profile. Edge finishes—merrowed borders for a traditional look or laser-cut edges for a contemporary silhouette—play a big role in visual appeal and how the patch wears over time.
Backing options affect wear and removal. Sew-on backs are long-lasting for uniforms, iron-on backs offer convenience for quick branding, and Velcro backs enable interchangeable patches on bags or jackets. Selecting the right combination of fabric, edge, and backing helps ensure your embroidered patches hold up to frequent washing and daily use without compromising design integrity.
Careful alignment of material choices with your brand and end-use is essential. Premium fabrics and precise edge finishes can elevate a patch’s perceived value, while economical options suit high-volume promotions. By balancing durability, cost, and aesthetics, you’ll create patches that look great across all applications.
Custom embroidered patches: Design, Production, and ROI
A strong design foundation speeds up production and reduces miscoloring. Gather vector artwork and include Pantone references to ensure accurate color reproduction. Specify clear shape instructions and edge preferences—merrow borders for a classic finish or a precise die-cut for intricate logos—to support a smoother order patch process from design to production.
Proofing is essential. Review digital or physical proofs for color accuracy, sizing, edge finish, and backing before full production. Address any adjustments promptly to minimize costly reworks and keep your overall budgeting on track for favorable custom patch pricing.
Beyond aesthetics, embroidered patches support a measurable branding ROI by delivering durable, repeatable branding across teams, products, and events. Planning for reorders, consistency, and scalable quantities helps maximize the long-term value of your order patches and strengthens brand cohesion.
Pricing and Scheduling: Navigate Custom Patch Pricing and Timelines
When requesting quotes, break down the cost drivers: patch size, shape, color count, backing type, edge finish, and lead time. Comparing quotes from multiple suppliers helps you optimize total investment for order patches and avoids surprises in the final invoice.
Request samples and proofs to verify color fidelity and stitching density before committing to a full run. Build a production calendar that aligns with events, launches, or campaigns, and confirm delivery windows to ensure patches arrive when needed. Clear scheduling also aids in planning through any required packaging or labeling for resale.
Understanding minimum order quantities (MOQs) and potential bulk discounts is key. Larger runs can lower unit costs and improve custom patch pricing, but base your decisions on projected demand to prevent excess inventory while still seizing cost advantages.
Patch production tips: QC, Proofs, and Packaging
Quality control is the backbone of consistent results. Implement checks for stitch density, color consistency, edge integrity, and backing adhesion to ensure every batch meets your standards. A reliable supplier will perform final QC and provide tracking information once patches ship, supporting accountability throughout production.
Proofing remains critical even after initial approval. Use both digital and physical proofs to confirm sizing, colors, and edge finishes against your Pantone references. Address discrepancies early to avoid post-production changes that can derail timelines and budgets.
Packaging and presentation matter, especially for retail or gifting. Decide whether you want simple poly bags or premium packaging with branded inserts or mounted cards. Thoughtful packaging not only protects patches in transit but also enhances the unboxing experience and reinforces your brand identity.
Frequently Asked Questions
What are the benefits of using custom embroidered patches for branding?
Custom embroidered patches provide durable, high‑quality branding that withstands frequent washing and wear. With patch customization options such as size, shape, color, backing, and edge finish, you can align patches with your brand identity and recognition goals.
How does patch customization affect the cost when you order patches, and how can I optimize custom patch pricing?
Costs vary with patch size, color count, backing, and edge finish, and Pantone color matching can add to the price. To optimize pricing, choose a standard size, limit colors, plan larger runs, and request quotes for multiple options during patch customization.
What artwork and color details should I prepare to ensure accurate embroidery for custom embroidered patches?
Provide vector artwork (AI, EPS, or PDF) or high‑resolution images, and include Pantone color codes for precise color matching. Also specify shape details (merrow border vs laser-cut) to support accurate stitching.
What backing and edge finish options should I choose for order patches to balance durability and appearance, and what are some patch production tips?
Edge options include merrow border for traditional durability or laser-cut for modern silhouettes. Backing options include sew-on for durability, iron-on for convenience, and Velcro for removable patches. Patch production tips: confirm stitch density, test on similar fabric, and request proofs before production.
What is the typical production timeline for custom embroidered patches after you place an order for patches, and how should I plan delivery?
Lead times usually range from two to six weeks, depending on size and complexity, with rush options sometimes available. After proof approval, plan for samples, quality checks, packaging, and delivery aligned with events or product launches.
| Aspect | Key Points | Notes/Details |
|---|---|---|
| Value and purpose | Durable, high-quality branding; holds up to washing; tactile texture; conveys brand quality and story; more distinctive than printed patches; supports consistency across apparel and promos. | Consider backing types, edge finishes, and production timelines when planning your patch program. |
| Step 1 – Define patch goals | Clarify purpose (reward, souvenir, uniform) influences size, quantity, and materials; set a target budget; plan for first order and reorders; note MOQs if applicable. | Clear objectives help estimate demand and guide vendor negotiations. |
| Step 2 – Prepare artwork and color details | Provide scalable vector artwork (AI, EPS, or PDF); high-resolution raster if vector not available; Pantone color codes for accuracy; decide merrow border vs laser-cut edge; shape choice (round/square/die-cut). | Ask for a vector rewrite if needed to ensure clean stitching. |
| Step 3 – Choose patch type, materials, and backing | Textiles such as twill, felt, or satin; edge finish options; backing types: sew-on, iron-on, Velcro; consider durability and washing needs. | Durability and application context influence backing choice (uniforms vs. event patches). |
| Step 4 – Determine size, shape, and quantity | Size affects cost and visibility; typical ranges: small 1–2 inches, large 3+ inches; standard vs die-cut shapes; plan quantities and MOQs; discuss reorders. | Larger patches showcase detail but cost more; plan for marketing calendars and launches. |
| Step 5 – Select backing, attachment, and care considerations | Attachment methods (sew-on, iron-on, Velcro); care instructions; consider machine washing and chemical resistance. | Align care and durability with end-use conditions (uniforms vs. retail). |
| Step 6 – Request quotes, compare, and understand custom patch pricing | Break down costs by size, shape, colors, backing, edge finish, and lead times; Pantone matching costs; compare options and quantity-based pricing. | Ask for quotes based on alternative configurations to gauge budget impact. |
| Step 7 – Approve proofs, confirm color accuracy, and finalize artwork | Review proofs, verify color fidelity against Pantone references, check sizing and edge/backing; request adjustments if needed; approve before production. | This step reduces rework and ensures design intent is met. |
| Step 8 – Place the order, plan for samples, and schedule delivery | Request sample patches; set a production calendar; discuss packaging and labeling; plan delivery timing. | Samples help validate color and stitch density on target fabric. |
| Step 9 – Production, quality control, and packing details | Lead times vary (roughly 2–6 weeks); QC checks for stitch density, color consistency, backing adherence; tracking updates; packaging decisions. | A reliable supplier provides final QC and dispatch tracking. |
| Step 10 – FAQ, best practices, and ongoing considerations | Common questions include colors per patch, best size for logos, ease of reorders, and care guidelines. | Prepare a FAQ sheet to streamline future orders. |
Summary
Conclusion: Ordering custom embroidered patches doesn’t have to be overwhelming. Start with a clear purpose, prep strong artwork, select the right materials and backing, and request careful proofs before you commit. With a thoughtful approach to patch production and pricing, you’ll achieve reliable results and a product that genuinely reflects your brand. As you gain experience, you’ll streamline the patch ordering process, optimize costs, and expand your patch library, ensuring your brand’s identity remains consistent across all applications. When you’re ready to take the next step, begin with a solid brief, engage trusted suppliers, and use the insights from this guide to simplify every stage of the ordering journey.