
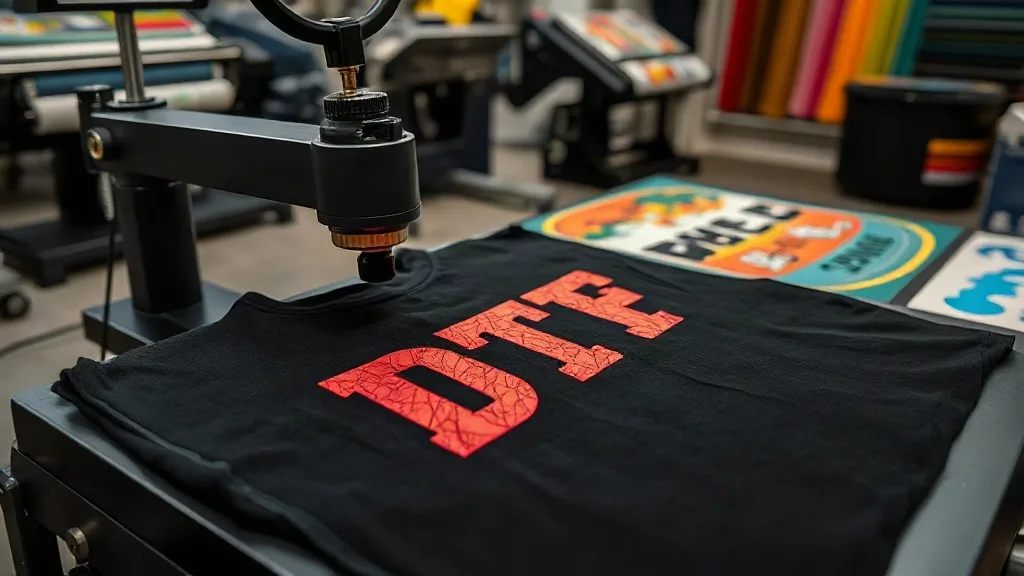
If you've been exploring custom apparel printing, you've likely encountered dtf transfers. This method has rapidly gained popularity for its versatility and vibrant results. Unlike traditional screen printing or vinyl, DTF (Direct to Film) allows you to print full-color designs onto a special film, then transfer them to fabric using a heat press. The process is surprisingly straightforward, but the nuances make all the difference between a amateur finish and a professional one. In this guide, I'll walk you through what DTF transfers are, how to use them effectively, and how to avoid common pitfalls. Whether you're a hobbyist or running a small print shop, mastering DTF can open up new creative and business opportunities.
What Are DTF Transfers?
DTF transfers are printed designs on a special film that can be applied to textiles using heat and pressure. The process involves printing your artwork onto a PET film with a special ink, then applying a powdered adhesive (hot melt powder) to the wet ink. After curing, the transfer is ready to be pressed onto fabric. The adhesive melts and bonds with the fibers, creating a durable, flexible print. Unlike DTF, other methods like sublimation require polyester fabrics, but DTF works on cotton, blends, and even dark colors. That's why dtf has become a go-to for small businesses and crafters who need high-quality, full-color prints without the setup costs of screen printing.
Why Choose DTF Transfers?
There are several reasons DTF has surged in popularity. First, it's incredibly versatile. You can print on almost any fabric, including cotton, polyester, blends, and even some synthetics. Second, the color vibrancy is outstanding. DTF printers use CMYK plus white ink, which means you can print bright, detailed designs on dark garments without a white underbase. Third, the process is efficient for small batches. There's no need for screens or plates, so you can produce one-off items or short runs cost-effectively. Finally, DTF transfers are durable. When applied correctly, they withstand repeated washing without cracking or fading. For anyone searching for dtf transfers near me, the growing availability of local suppliers and online shops makes it easier than ever to get started.
How to Apply DTF Transfers: Step-by-Step
Applying DTF transfers is a straightforward process, but following the correct steps is crucial for a professional finish. Here's a detailed guide to ensure your transfers adhere properly and last long.
1. Prepare Your Workspace and Materials
Before you begin, gather everything you need: the DTF transfer, a heat press, a garment, and a protective sheet (like parchment paper or a Teflon sheet). Ensure your heat press is preheated to the correct temperature. For most DTF transfers, the recommended temperature is around 300°F to 320°F (150°C to 160°C). Always check the instructions provided with your transfers, as different films may have specific requirements.
2. Preheat the Garment
Preheating the garment removes moisture and wrinkles, which can interfere with adhesion. Place the garment on the heat press and press for 5-10 seconds at the recommended temperature. This step also helps the fabric accept the transfer more evenly.
3. Position the Transfer
Place the DTF transfer onto the garment with the printed side facing up. The adhesive side should be in contact with the fabric. Use heat-resistant tape to hold the transfer in place if needed, especially for small designs or awkward placements.
4. Press the Transfer
Cover the transfer with a protective sheet. Apply medium to firm pressure for 10-15 seconds. The exact time depends on the transfer and fabric, so always refer to the manufacturer's guidelines. Avoid using too much pressure, as it can cause the design to spread or the film to wrinkle.
5. Peel the Film
After pressing, allow the transfer to cool completely before peeling the film. This is a crucial step: peeling while hot can distort the design. Once cool, peel the film slowly and evenly. If any part of the design lifts, re-press for a few seconds.
6. Post-Press for Durability
For added durability, cover the design with a protective sheet and press again for 5-10 seconds. This ensures the adhesive fully bonds with the fabric.
Common Mistakes to Avoid
Even experienced users can make mistakes. Here are some common pitfalls and how to avoid them:
- Incorrect temperature: Too low, and the adhesive won't melt; too high, and the film may scorch or the ink may bleed. Always use a temperature gun to verify your press's actual temperature.
- Peeling too early: Patience is key. Peeling while hot can ruin the design. Wait until it's completely cool.
- Uneven pressure: Make sure your heat press applies even pressure across the entire design. Adjust the pressure settings if needed.
- Not preheating the garment: Skipping preheating can lead to poor adhesion and wrinkles.
- Using the wrong fabric: While DTF works on many fabrics, some very stretchy or coated materials may not bond well. Test on a scrap first.
Design Tips for DTF Transfers
Creating a design for DTF is similar to preparing artwork for other digital printing methods. Here are some tips to ensure your designs look their best:
- Use high-resolution images: DTF printers can reproduce fine details, so start with at least 300 DPI.
- Consider the white ink layer: DTF printers lay down white ink behind the colors to make them pop on dark fabrics. Keep this in mind when designing; areas with white will be slightly thicker.
- Avoid very fine lines: Extremely thin lines may not hold up well after washing. Use a minimum line weight of 1 point.
- Test your design: Print a small sample to check colors and details before committing to a full batch.
Where to Find Quality DTF Transfers
When sourcing DTF transfers, quality is paramount. Poorly made transfers can lead to faded colors, cracking, or adhesion issues. Look for suppliers that use high-quality films and inks, and offer clear instructions. Many online stores specialize in DTF transfers, and some local print shops now offer DTF services. If you're searching for dtf transfers near me, check reviews and ask for samples to ensure the transfers meet your standards. Building a relationship with a reliable supplier can save you time and frustration.
Frequently Asked Questions
How long do DTF transfers last?
When applied correctly, DTF transfers can last as long as the garment itself. They are durable and withstand repeated washing. However, proper care, such as washing inside out and avoiding high heat in the dryer, will extend their life.
Can I use DTF transfers on dark colors?
Absolutely. DTF transfers are ideal for dark fabrics because they include a white ink layer that makes colors vibrant. This is a major advantage over other methods like sublimation, which require light-colored polyester.
Do I need a special printer for DTF?
Yes, DTF printing requires a dedicated DTF printer that uses DTF inks and a powder shaker. However, if you're not ready to invest in a printer, you can purchase pre-printed DTF transfers from suppliers and apply them with a standard heat press.
What fabrics work best with DTF transfers?
DTF transfers work on a wide range of fabrics, including cotton, polyester, blends, and even some synthetics. They are not recommended for fabrics with a heavy coating or waterproof finish, as the adhesive may not bond properly.
How do I store DTF transfers?
Store unused DTF transfers in a cool, dry place away from direct sunlight. Keep them flat to avoid creasing. Properly stored transfers can last for several months.
Mastering DTF transfers takes practice, but with the right techniques and quality supplies, you can achieve professional results that impress your customers. Whether you're creating custom t-shirts for your brand or personalizing gifts, DTF offers a flexible and vibrant solution. Remember to follow the application steps carefully and always test new materials. Happy printing!